|
3. Installing and Running iTivity iManager
The iManager provides the interface for administrators and support personnel to view and manage remote computers and servers. The iManager can be installed on the same computer as the iServer software or on a different computer either inside or outside the same firewall. You can obtain the installation program for the iManager from the Tridia web site. Other Installation Options: · You can automate installation on Windows. See Appendix A in this guide. · You can also create custom installers on the Tridia Support web site. See Appendix B. 3.1 System Requirements
Windows 10 . 500MHz Pentium IV or higher processor . 256 MB of RAM . 200 MB of available hard disk space . VGA or higher resolution monitor Runtime Resource Requirements. Approximately 25MB to 50MB of virtual memory. 3.2 Installation on Windows
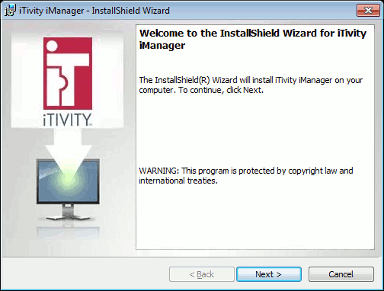
This section contains instruction for installing the iManager on a Windows system from a Tridia distribution MSI file. 1. Download the distribution MSI file for the iManager from the Tridia FTP site. After saving this file to disk, right-click the file and select Install. The following Welcome dialog is displayed:
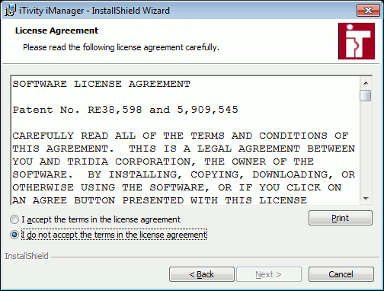
2. Click Next. The License Agreement page is displayed.
3. Scroll Down to view the entire agreement. Then click "I accept the terms in the license agreement" to indicate your acceptance. Click Next. The following dialog is displayed.
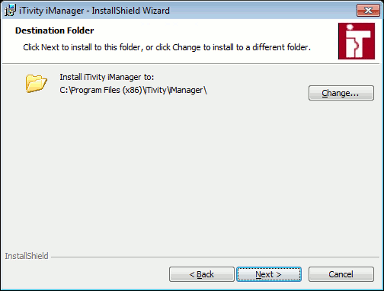
4. Click the Change button to change the Destination Folder if desired. Otherwise, click Next to continue. The Application Configuration dialog is displayed.
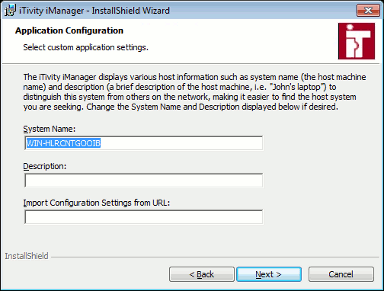
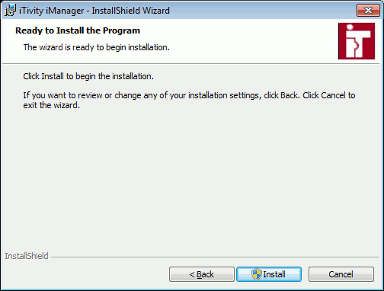
The System Name refers to the name of the computer where you are installing the iManager software. Typically, this is your desktop workstation. The Description should be a short description of the computer purpose or location. This field is optional. The Import Configuration Settings from URL may refer to a web accessible registry settings file. This setting is also optional, most customers will leave it blank. This "Reg" file, if any, is stored on your web server to allow for extended configuration of registry settings as the installer is finishing. 5. After updating the fields as needed, click Next. The Ready To Install dialog is displayed.
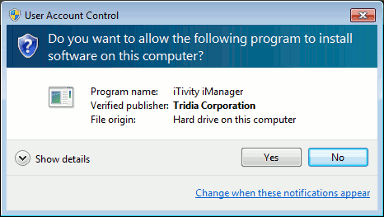
Click Install to continue. 6. Next the installer prompts for elevated privileges needed to perform the installation.
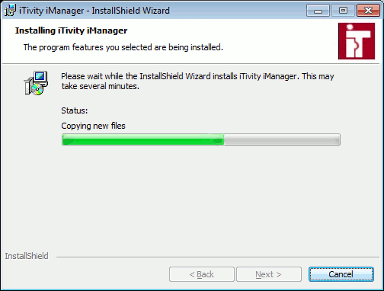
Click Yes to continue with the installation. The installer displays a progress bar depicting the status of the installation and configuration.
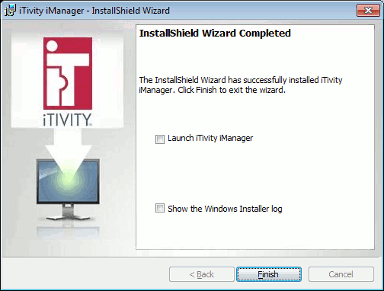
8. The following dialog is displayed when the installer finishes.
9. The installation is now complete. Click Finish to exit. 3.3 iManager Quick Start
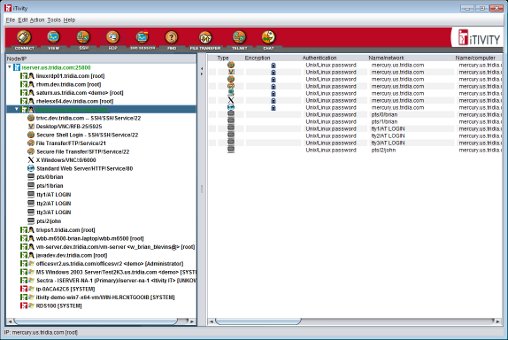
This section provides instructions for the tasks you need to complete to connect to an iServer and begin viewing remote computers. For complete instructions for all of the features and options in the iManager, see Chapter 4. 3.3.1 Launching the iManagerTo open the iManager, click on the shortcut icon you may have installed on your desktop during installation, or select Start > All Programs > iTivity > iManager > iTivity iManager. The main window is displayed. 3.3.2 iManager Main WindowThe iManager main window contains menu and tool bars and a dual-pane list area. The left pane displays the available iServers and the computers and servers that are currently connected to each iServer. The right pane shows detailed information about the computers connected to the currently highlighted iServer.
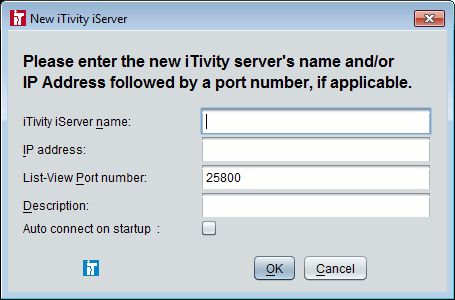
3.3.3 Adding an iServerWhen you first install iManager, the list area is blank. You must add your iServers to the list in order to display them in the left pane. 1. Click the Edit Menu and choose Add iTivity iServer.
The new iTivity iServer dialog is displayed.
2. Fill in the information.
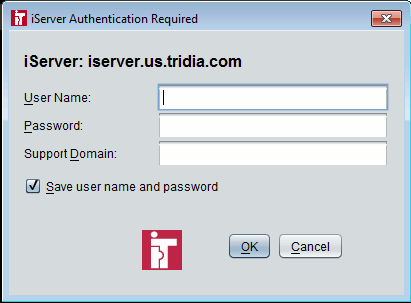
3. Click OK. The iServer dialog is added and displayed in the left pane on the Main Window. 3.3.4 Connecting to an iServerAfter adding an iServer to the list, use this procedure to connect to it and view attached computers. 1. In the left pane, highlight the iServer you want to connect to. 2. Click the Connect toolbar button, or click the Action Menu and choose Connect. You can also double-click on the iServer in the left pane. The iManager displays messages indicating that it is building the tunnel and then waiting for authentication. The Authentication dialog is displayed.
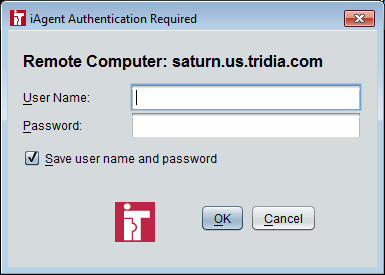
3. Enter your User Name, Password, and Support Domain (if used) for the iServer and click OK. Note: If your network uses Active Directory domains, you must enter the domain along with the user name, for example "MYDOMAIN\user name". Contact your network administrator if you need assistance. The connection is established. The connected iServer changes in the left pane to a light green color. 3.3.5 Viewing an iAgent ComputerAfter successfully logging in to the iServer, you can view and control any iAgents currently connected to it. This can include systems running the Attended iAgent (which have an on-demand connection), and the Unattended iAgent (which have an always-on connection). 1. In the left pane, highlight the connected system to view. 2. Click the View toolbar button, or click the Action Menu and choose View. 3. If this is the first time your iManager is connecting to this computer, you may be asked to verify the requested encryption certificate fingerprint of the computer.
Note: For Windows iAgent systems, this option depends on how the Attended iAgent or Unattended iAgent was installed. This can be controlled by editing the HTML files used to download and install the iAgents from a web server. See Section 5.4, Editing the iAgent HTML Files. If verifying the certificate number is required, the number can be obtained by right-clicking on the iTivity icon in the iAgent computer's system tray and selecting the Show Certificate Fingerprint option. Your computer retains the fingerprint in its cache for the next viewing session. 4. The iManager displays messages indicating that it is building the tunnel and then waiting for authentication. The Authentication dialog is then displayed.
Note: The authentication method and dialog depend on how the Attended iAgent or Unattended iAgent was installed. See Section 5.4, Editing the iAgent HTML Files. If connecting to a UNIX/Linux Unattended iAgent, see Section 8.4, Configuring the Unattended iAgent on UNIX/Linux. 4. Enter your User Name and Password. Optionally, enter the Reason for connecting. Click OK. The login is processed and the screen image for the iAgent computer appears in a separate window on your screen. Also, a task with a lock icon appears in the system tray
5. Several options are available while viewing. You can access a viewer system menu in either of two ways: · Click on the lock icon in the upper-left hand corner of the session window OR · Right-click on the task in the system tray. For complete information on the menu options available, see Section 4.4, iAgent System Tray Menu. 3.3.6 Ending the Remote SessionTo end the remote viewing session: Right-click on the lock icon in the upper-left hand corner of the session window to open the viewer system menu and select Close. From the iManager, select the End Session option from the toolbar. 3.4 Customizing iManager Startup with Command Line Shortcuts
To launch iManager, you normally click on a desktop shortcut or select Start > All Programs > iTivity > iManager > iTivity iManager. You can also launch iManager with specific options from the Windows Command Prompt, and you can customize startup by creating Windows shortcuts with these command line options. 3.4.1 Launch iManager in Diagnostic ModeIn this mode, iManager is launched with debugging dialogs and a console window to review error log output. Command parameter: -x Command Line Example: Windows Shortcut Example: Note: When defining a Windows shortcut, be sure to place the path and exe filename in double quotes and the parameters outside of the quotes. 3.4.2 Specify the iServer List File or Scan FileThis command instructs iManager to load a specific NCN file containing one or more iServers to list for connection. Command parameter: -s <ncn-file specification> Command Line Example: Windows Shortcut Example: 3.4.3 Connect Automatically to a Specific iServerThis command automatically connects to a specified iServer when iManager launches. You can specify the hostname or IP address and an optional port number (default is 25800). Command parameter: -iserver hostname/ipaddress[:port number] Windows Shortcut Example: "C:\Program Files\iTivity\bin\starter.exe" -iserver myiserver.myacme.com:25800 3.4.4 Connect Automatically to a Specific iAgent Using Session NameThis command connects automatically to a specified iAgent on the iServer based on the system name. You need to enter the session id for the iAgent, which is found on the iAgent's "About" dialog. This option is only valid when used in conjunction with the -iserver option above. Command parameter: -session_name host name Windows Shortcut Example: 3.4.5 Connect Automatically to a Specific iAgent Using Session NumberThis command is similar to the one above, except it uses the session number instead of the name. This option is only valid when used in conjunction with the -iserver option above. Command parameter: -session_name sessionID Windows Shortcut Example: 3.4.6 Connect Directly to a Specific iAgent Without Intervening User InterfaceThese parameters can be used to connect directly to a specific iAgent session through the iManager, but without displaying intervening windows or dialogs. This allows you to open a shortcut and directly begin viewing the iAgent system, or to call the iAgent session from within another program. These parameters can be combined in a single command line or shortcut. All are optional depending on how you need to connect to iManager and the iAgent session. Except for -nologo, all the parameters must be preceded by the -iserver parameter.
Examples This shortcut launches iManager and connects immediately to the named iServer and iAgent (without displaying authentication dialogs) for user TJones, password TJ90786. The password is the same for the iServer and iAgent. "C:\Program Files\iTivity\bin\starter.exe" -iserver myiserver.myacme.com -session_name agent.myacme.com -isuid TJones -ispwd TJ90786 -isnodiag -suid TJones -spwd TJ90786 -snodiag This shortcut does the same as the above, but launches iManager with no logo or UI: "C:\Program Files\iTivity\bin\starter.exe" -iserver myiserver.myacme.com -session_name agent.myacme.com -isuid TJones -ispwd TJ90786 -isnodiag -suid TJones -spwd TJ90786 -nologo -nogui -snodiag
Copyright © 2017 - 2023, iTivity Corporation |